
Direct Answer:
Start retinol by: (1) choosing 0.1-0.25% concentration appropriate for your skin type, (2) cleansing and completely drying your face (wait 5-10 minutes), (3) applying a pea-sized amount to your fingertips, (4) dotting onto forehead, cheeks, chin, and nose, (5) pressing gently into skin without rubbing, (6) waiting 10-15 minutes, (7) applying hydrating moisturizer, (8) using daily SPF 30+ the next morning, and (9) using retinol once weekly initially, then increasing frequency gradually every 1-2 weeks. This gradual approach minimizes irritation while allowing your skin to adapt and benefit from retinol’s effects.
The Right Technique Matters
You’ve decided to start retinol. You have the product. But how exactly do you use it? The difference between applying retinol correctly and incorrectly dramatically affects whether you experience transformative results or frustrating irritation.
This step-by-step guide covers exactly what to do before, during, and after applying retinol—from preparation to moisturizing to sun protection. Following this protocol sets you up for success.
The Retinol Edit: What Is Retinol?
Pre-Application: Preparing Your Skin (This Step Is Critical)
Step 1: Cleanse Your Face Thoroughly
Use a gentle cleanser appropriate for your skin type—creamy cleansers for dry skin, gel or foaming cleansers for oily skin. The goal is removing makeup, sunscreen, dirt, and oil without stripping your skin.
Timing: Cleanse at night, as retinol is nighttime-only.
Application Technique:
- Wet your face with lukewarm water
- Dispense cleanser into palms
- Massage gently into skin for 30-60 seconds, covering entire face
- Rinse thoroughly with lukewarm water
- Pat dry with a clean towel (don’t rub vigorously)
Step 2: Wait 5-10 Minutes for Skin to Dry Completely
This is the step most beginners skip—and it’s why they experience irritation.
Why this matters: Retinol penetrates damp skin much faster and more aggressively than dry skin. Faster penetration = higher irritation risk. Applying retinol to dry skin ensures gradual, controlled penetration that your skin can tolerate.
What to do during this wait:
- Don’t apply other products
- Don’t fan your face or use a hair dryer (tempting but counterproductive)
- Simply wait, allowing your skin to air-dry naturally
- You can use this time to prepare your moisturizer or do another part of your routine
How to verify dryness: Your face should feel completely dry to the touch. No residual moisture or “tacky” feeling.
Step 3: Optional—Apply a Hydrating Toner or Essence (For Sensitive Skin)
If you have sensitive or dry skin, applying a lightweight hydrating toner or essence BEFORE retinol provides an extra hydration buffer. This is optional but beneficial for reactive skin types.
Application: Pat a small amount (about a quarter-sized amount) onto your face. Let it dry for 1-2 minutes before proceeding to retinol.
Retinol Notes: How Does Retinol Work?
Application: The Critical Technique
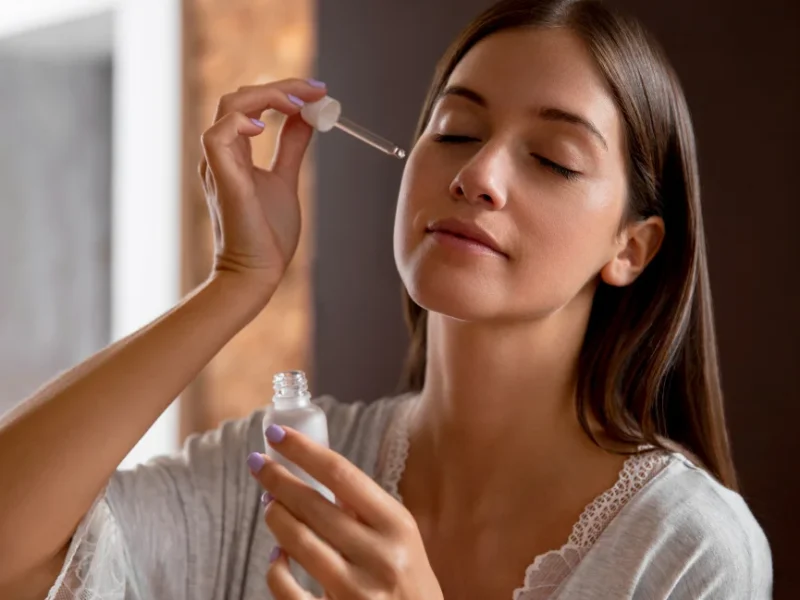
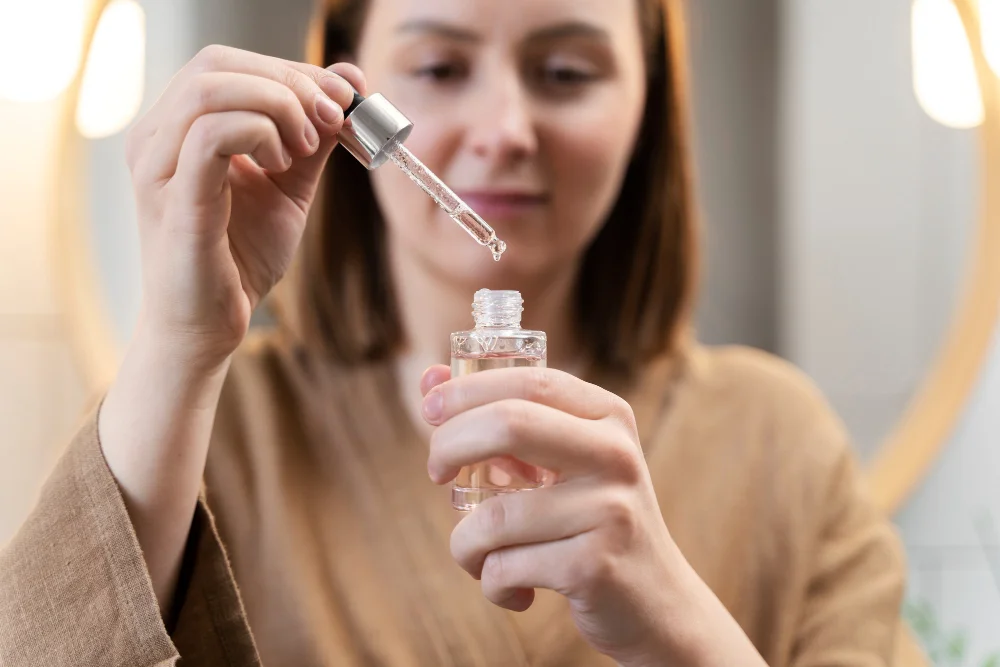
Step 4: Dispense Retinol Into Your Fingertips
Amount: Exactly one pea-sized amount. This is roughly the size of a small pea or a single grain of rice.
Why so little? Retinol disperses across your entire face as you apply it. More product doesn’t mean faster results—it means more irritation. A pea-sized amount provides full-face coverage.
How to measure:
- Dispense retinol onto your fingertip
- Compare to a pea
- If it looks larger, you’re using too much
- Push back excess into the bottle
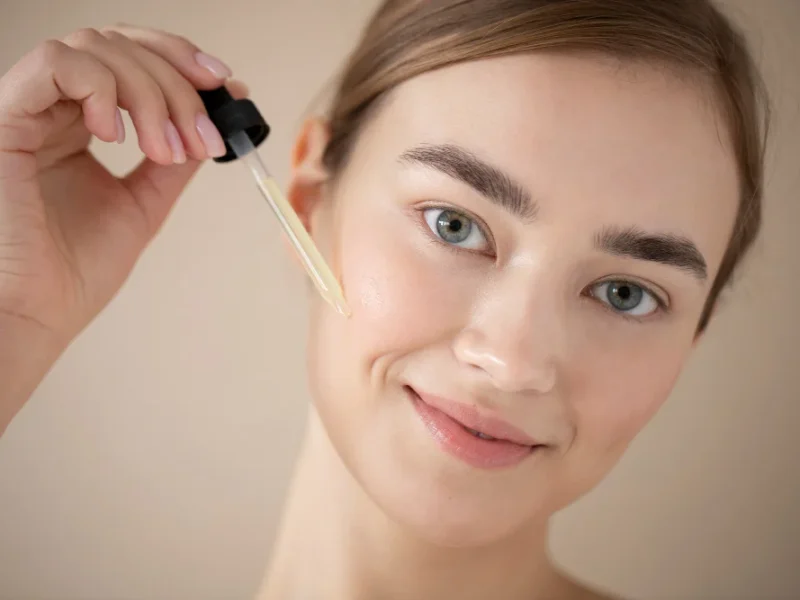
Step 5: Dot Retinol Onto Key Face Areas
Don’t apply retinol directly to your nose and spread outward (this concentrates product in one area). Instead, distribute it across your entire face:
Application Map:
- Forehead — One dot in center, one dot on each side
- Cheeks — One dot on each cheek (avoid the under-eye area; let product migrate there overnight)
- Chin — One dot in center, one dot on each side
- Nose — One small dot (optional; skip if very sensitive)
Important: Avoid these areas initially:
- Under eyes — Skin is thinner; skip direct application initially. Retinol will migrate to this area overnight
- Lips — Very sensitive; skip
- Any active irritation or eczema patches — Skip these areas entirely
Step 6: Press Into Skin (Don’t Rub or Massage)
This is the most misunderstood step.
Incorrect technique: Rubbing or massaging retinol into skin aggressively. This distributes product too quickly and increases irritation.
Correct technique:
- Use your fingertips to gently press retinol into your skin
- Work from the center of your face outward
- Use a patting or “tapping” motion rather than circular rubbing
- Take your time—this should take 1-2 minutes
- Your goal is gentle, even distribution, not speedy application
Feeling: Retinol should feel like it’s absorbing into your skin, not sitting on the surface. If it feels greasy or sits on top, you’ve applied too much—use a tissue to blot excess.
Step 7: Wait 10-15 Minutes Before Applying Moisturizer
This “buffer” step allows retinol to absorb and begin working before you apply moisturizer. Waiting reduces irritation without reducing efficacy—research shows this “buffering” technique delivers results with approximately 40-50% less irritation.
What to do during this wait:
- Don’t apply other products
- Don’t go to bed (let retinol absorb first)
- You can use this time to brush your teeth or do other nighttime tasks
Can you skip this step? Technically yes—applying moisturizer immediately is fine. But waiting 10-15 minutes reduces irritation noticeably, especially during the first few weeks.
Continue the Retinol Journey: What Does Retinol Do?
Post-Application: Moisturizing & Barrier Support
Step 8: Apply Hydrating Moisturizer
After the 10-15 minute wait, apply your hydrating moisturizer.
Amount: A nickel to quarter-sized amount (larger than you think). Retinol increases TEWL (transepidermal water loss), so adequate moisturizer is essential for barrier support.
Application technique:
- Dispense moisturizer into palms
- Rub hands together to warm
- Press gently into entire face
- Pay special attention to dry areas (cheeks, around eyes)
- Don’t neglect your neck and décolletage
Moisturizer selection matters:
- Choose fragrance-free formulas
- Prioritize hydrating ingredients: hyaluronic acid, glycerin, ceramides, peptides
- Avoid heavy occlusive creams initially (save those for non-retinol nights)
- Brands like CeraVe, Vanicream, La Roche-Posay, and Cetaphil work well for most skin types
Step 9: Optional—Apply Facial Oil or Sleeping Mask (For Dry/Sensitive Skin)
If your skin is very dry or sensitive, adding a facial oil or sleeping mask over your moisturizer provides extra barrier support.
Option 1: Facial Oil
- Dispense 3-5 drops of squalane, rosehip, or jojoba oil
- Warm between palms
- Press gently into face
- Allows skin to remain hydrated throughout the night
Option 2: Sleeping Mask
- Apply a thin layer of hydrating sleeping mask over moisturizer
- This occlusive layer locks in hydration
- Remove in the morning or leave on (depends on formula)
Note: Don’t use heavy occlusive oils during your first 2-4 weeks of retinol use—they can trap heat and increase irritation. Stick to lightweight oils (squalane) or skip this step initially.
One More Retinol Secret: Retinol vs Retinoids
Morning After: Completing the Cycle
Step 10: Gentle Cleanse in the Morning
Cleanse your face gently in the morning with the same gentle cleanser you used the night before. Retinol residue and overnight oil production require cleansing.
Application: Same technique as evening cleanse—gentle massage for 30-60 seconds, rinse thoroughly.
Step 11: Hydrate with Toner or Essence (Optional)
Many people apply a hydrating toner or essence in the morning to rehydrate after overnight retinol use. This is optional but beneficial.
Step 12: Apply Lightweight Moisturizer
Use a lighter moisturizer in the morning than you used at night (unless your skin is very dry).
Purpose: Hydration layer without heaviness that might interfere with makeup or feel greasy during the day.
Step 13: Apply SPF 30+ Sunscreen (Non-Negotiable)
This is the most critical step of your morning routine when using retinol.
Why: Retinol increases photosensitivity. Your skin is more vulnerable to UV damage. Sun exposure:
- Negates retinol’s benefits
- Accelerates photoaging
- Causes hyperpigmentation (especially in darker skin tones)
- Undermines collagen-building effects
SPF recommendation: SPF 50+ preferable, minimum SPF 30.
Application technique:
- Apply generous amount (about 1/4 teaspoon for face) to forehead, cheeks, chin, nose
- Rub together to distribute evenly
- Wait 15 minutes before sun exposure (allows sunscreen to form protective barrier)
- Reapply every 2 hours if outdoors
Type selection:
- Mineral sunscreen (zinc oxide, titanium dioxide) — Often preferred with retinol-sensitized skin; less irritating
- Chemical sunscreen — Fine if non-irritating; faster absorption
- Hybrid — Combines both types
Note: SPF is non-negotiable. Without it, you’re undermining all of retinol’s benefits while accelerating photoaging. This isn’t optional—it’s the foundation of successful retinol use.
Frequency Schedule: Progressive Introduction
Week 1: Once Per Week
Apply retinol one time in the first week. Choose the same day each week (e.g., every Monday evening).
Rest of the week: 6 nights without retinol. Use your normal skincare routine.
Expected experience: Possible mild dryness or slight redness 24-48 hours later. This is normal.
Week 2: Once Per Week (Same Day)
Continue the same once-weekly schedule. Your skin is adapting to retinol’s cellular signals.
Expected experience: Retinization (adjustment period) may be more noticeable. Possible mild peeling or flaking. Still manageable—don’t increase frequency yet.
Week 3-4: Twice Per Week
Increase to twice weekly. Choose days with at least 3 days between applications (e.g., Monday and Thursday).
Schedule example:
- Monday evening: Retinol night
- Tuesday-Wednesday: Rest nights
- Thursday evening: Retinol night
- Friday-Sunday: Rest nights
Expected experience: Retinization period typically peaks around week 3-4. You may notice more noticeable peeling or sensitivity. This is normal and temporary—it means your skin is actively remodeling.
Week 5-6: Three Times Per Week
Move to three times weekly if your skin is tolerating well. Space applications with 1-2 days between.
Schedule example:
- Monday: Retinol
- Tuesday: Rest
- Wednesday: Rest
- Thursday: Retinol
- Friday: Rest
- Saturday: Retinol
- Sunday: Rest
Expected experience: Retinization should be resolving. You’re past the most uncomfortable phase. Early improvements in texture and tone may become visible.
Week 7-8+: Four to Five Times Per Week or Nightly
Once fully adapted, increase to 4-5 times weekly or nightly use if desired. However, many people find 4-5 times weekly provides optimal results without excessive irritation.
Schedule options:
- 4× weekly: Mon, Tues, Wed, Thurs, with Fri-Sun off
- 5× weekly: Mon-Fri with Sat-Sun off
- Nightly: Every evening
Important: Don’t rush to nightly use. Many people get excellent results with 4-5 times weekly and find nightly use unnecessary.
Special Case: Sensitivity Requires Slower Progression
If you have sensitive skin and experience significant irritation:
- Week 1-2: Continue once weekly
- Week 3-4: Try twice weekly; if irritation persists, remain at once weekly for another 2 weeks
- Week 5+: Gradually progress when skin is ready
Slower progression is better than forcing faster progression and damaging your barrier. Patience pays off.
The Next Retinol Step: Retinol for Beginners
Troubleshooting: What to Do If Problems Occur
Problem: Excessive Redness or Burning
Cause: Too much product, too frequent use, or applying to damp skin.
Solution:
- Reduce to once weekly for the next 2 weeks
- Ensure you’re applying pea-sized amount only
- Wait 5-10 minutes after cleansing before applying
- Use sandwich method (moisturizer before retinol)
- Apply more generous moisturizer after retinol
Problem: Severe Peeling or Flaking
Cause: Retinization or dehydration. This is usually temporary, but if severe:
Solution:
- Reduce frequency to once weekly
- Increase moisturizer application—use more generous amounts
- Consider switching to sandwich method
- Add hydrating serum before retinol
- Use facial oil or sleeping mask
Problem: Dryness Beyond Week 4
Cause: Not enough hydration support or skin barrier compromised.
Solution:
- Evaluate your moisturizer—is it truly hydrating or just occlusive?
- Add hydrating serum or essence before retinol
- Use richer moisturizer after retinol
- Consider adding facial oil or sleeping mask
- Temporarily reduce frequency if dryness is severe
Problem: Breakouts (Not Normal Acne Improvement)
Cause: Sometimes retinol initially brings underlying congestion to the surface (not true “purging,” but could appear similar). If breakouts worsen beyond week 4:
Solution:
- Ensure you’re not using too-frequent retinol
- Check if you’re combining retinol with other acne actives (benzoyl peroxide, salicylic acid)
- Verify your other products aren’t causing breakouts
- Reduce frequency and reassess
- Consider whether breakouts are normal adaptation or a sign retinol isn’t right for you
Problem: No Improvement After 8 Weeks
Cause: Insufficient frequency, concentration too low, or inconsistent use.
Solution:
- Verify you’re using retinol at least 3× weekly—once or twice weekly rarely produces visible results
- Consider increasing concentration (if currently at 0.1%, try 0.25%)
- Ensure you’re actually using it consistently (not sporadically)
- Verify you’re using adequate SPF (sun damage can counteract retinol benefits)
- Give it until week 12—some people’s skin responds more slowly
Common Application Mistakes (And How to Avoid Them)
Mistake #1: Applying to Damp Skin
Problem: Increases irritation dramatically. Solution: Wait 5-10 minutes after cleansing before applying retinol.
Mistake #2: Using Too Much Product
Problem: More irritation without better results. Solution: Stick to exactly pea-sized amount. Less is more.
Mistake #3: Rubbing or Massaging Vigorously
Problem: Distributes product too aggressively, increases irritation. Solution: Use gentle pressing/tapping motion instead of rubbing.
Mistake #4: Applying Retinol to Eye Area Directly
Problem: Very sensitive skin around eyes can become irritated. Solution: Skip eyes initially; let retinol migrate there overnight. After 4+ weeks of adaptation, you can apply near orbital bone if desired.
Mistake #5: Skipping Moisturizer
Problem: Barrier damage, excessive dryness, peeling. Solution: Always apply hydrating moisturizer 10-15 minutes after retinol.
Mistake #6: Combining with Other Actives Too Early
Problem: Excessive irritation. Solution: Wait 8+ weeks before adding vitamin C, AHAs, BHAs, or benzoyl peroxide.
Mistake #7: Forgetting SPF
Problem: Negates all retinol benefits; accelerates photodamage. Solution: Daily SPF 30+ (50+ preferable) is absolutely mandatory when using retinol.
Mistake #8: Increasing Frequency Too Quickly
Problem: Overwhelming your skin’s tolerance, causing barrier damage. Solution: Follow the progressive frequency schedule provided above.
Special Techniques for Maximum Tolerance
The Sandwich Method (Best for Sensitive Skin)
- Apply light moisturizer to clean, dry face
- Wait 1-2 minutes for it to set
- Apply pea-sized amount of retinol
- Wait 10-15 minutes
- Apply another layer of moisturizer
This technique reduces irritation by 40-50% by creating hydration buffers around retinol molecules. It’s ideal if you’re struggling with irritation.
The Dilution Method (For Extra Caution)
Mix 2-3 drops of retinol with a few drops of your moisturizer in your palm, then apply. This dilutes the retinol concentration, making it gentler while you build tolerance. Once adapted, return to undiluted retinol.
The Low and Slow Method (For Extremely Sensitive Skin)
- Week 1-4: Once weekly with sandwich method
- Week 5-8: Twice weekly with sandwich method
- Week 9-12: Twice weekly without sandwich method (if tolerance built)
- Week 13+: Increase frequency if desired
This ultra-conservative approach works for those with severe sensitivity or compromised barriers.
The Complete First-Month Protocol (Quick Reference)
Week 1:
Cleanse → Wait 5 min → Pea-sized retinol (press gently) → Wait 15 min → Moisturizer → Morning: Gentle cleanse → Hydrate → SPF 50+
Week 2:
Same as Week 1 (once weekly)
Week 3-4:
Repeat process twice weekly (e.g., Mon & Thurs), allowing 3+ days between applications
Week 5-6:
Increase to three times weekly
Week 7-8+:
Four to five times weekly or daily (depending on tolerance)
Throughout: Never skip SPF. Hydrate generously. Be patient.
For Our South Asian Readers
When starting retinol in South Asia’s high-heat, high-humidity climate, increase emphasis on the drying step (wait 10 minutes minimum instead of 5, as residual humidity can delay drying) and use the sandwich method more liberally throughout your adaptation period.
South Asia’s intense UV exposure makes daily SPF 50+ absolutely critical—the standard SPF 30 recommendation is insufficient for the region’s UV intensity; reapply every 90 minutes outdoors rather than every 2 hours. During summer months (April-June), consider reducing retinol frequency or pausing use during peak heat months, as heat accelerates skin metabolism and can intensify irritation; resume at lower frequency when temperatures moderate. Store retinol in a cool place (ideally refrigerated) to prevent degradation in heat and humidity.
This Guide is Part of Our Complete Retinol Guide: The Ultimate Retinol Guide: Benefits, How to Use, and Expert-Backed Routines